If you’re working with Pfaff or Husqvarna embroidery machines, chances are you’ve already heard about Image to PXF File Conversion and how important it is for clean, professional stitching. Converting an image into a PXF embroidery file sounds simple on the surface but in reality, it’s a technical process that requires skill, experience, and a solid understanding of how stitches behave on fabric. One small mistake during conversion can lead to thread breaks, distorted designs, poor coverage, or wasted garments.
In this guide, we’ll break down the most common mistakes people make during image-to-PXF conversion and more importantly, how you can avoid them to get flawless embroidery results every time.
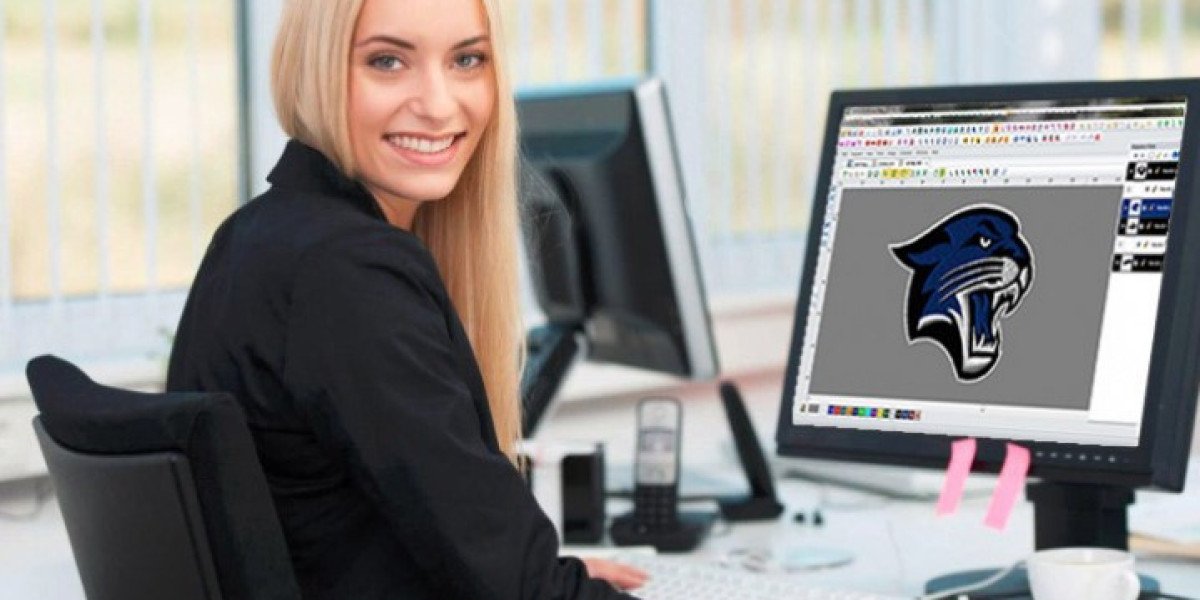
What Is PXF File Conversion? A Quick Refresher
PXF is a proprietary embroidery file format used mainly by Pfaff and Husqvarna machines. Unlike regular image files such as JPG, PNG, or BMP, PXF files contain stitch data, including:
- Stitch type
- Stitch direction
- Density values
- Underlay information
- Color sequence
- Machine movement paths
Image to PXF conversion is the process of transforming artwork into a stitch-based file that your embroidery machine can actually read and sew.
Why Image to PXF File Conversion Requires Expertise
Many beginners think embroidery conversion is just clicking a button. The truth? High-quality digitizing is more like technical artwork than simple file saving. Conversion requires:
- Understanding fabric behavior
- Choosing the correct stitch type
- Applying the right underlay
- Controlling stitch angles
- Managing thread tension
- Compensating for push and pull
Without this knowledge, your final embroidery will almost always fall short.
Common Mistake #1: Using Low-Resolution Images
Why It’s a Problem
Low-quality or blurry images don’t provide enough detail for accurate digitizing. When edges are unclear, the digitizer is forced to guess where stitch paths should go.
What Happens
- Jagged outlines
- Uneven stitch fills
- Missing details
- Extra cleanup time
- Lower embroidery quality
How to Avoid It
Always start with:
- High-resolution PNG or JPG files
- Vector artwork (AI, EPS, SVG) whenever possible
- Clear contrast between colors
- Sharp edges with no blur
Common Mistake #2: Relying on Auto-Digitizing
Why It’s a Problem
Auto-digitizing software tries to interpret artwork automatically but it doesn’t understand fabric, thread, or stitch behavior the way a professional does.
What Happens
- Excessive stitch count
- Weak or missing underlay
- Poor stitch sequencing
- Thread nesting
- Fabric puckering
How to Avoid It
Use auto-digitizing only as a starting point, not a final solution. Always manually refine:
- Stitch angles
- Density
- Underlay
- Pull compensation
Or better yet, use a professional digitizing service.
Common Mistake #3: Incorrect Stitch Density
Why It’s a Problem
Density determines how many stitches sit in a given area. Too dense or too loose causes serious embroidery problems.
What Happens
- Too dense: thread breaks, stiff embroidery, needle breaks
- Too loose: poor coverage, fabric showing through
How to Avoid It
Adjust density based on:
- Fabric thickness
- Type of thread
- Design size
- Stitch type
Light fabrics need lighter density. Heavier fabrics need stronger coverage.
Common Mistake #4: Ignoring Underlay Stitches
Why It’s a Problem
Underlay is the foundation of embroidery. Skipping it often leads to uneven stitching and instability.
What Happens
- Design sinks into the fabric
- Poor stitch coverage
- Misaligned satin columns
- Weak durability after washing
How to Avoid It
Always apply proper underlay based on stitch type:
- Edge run for satin
- Zigzag for wide areas
- Tatami underlay for fills
Common Mistake #5: Poor Stitch Direction Choices
Why It’s a Problem
Stitch direction affects not just how the design looks—but also how it feels and how light reflects off it.
What Happens
- Distorted shapes
- Uneven texture
- Loss of design depth
- Poor visual flow
How to Avoid It
Plan stitch angles based on:
- Design shape
- Fabric stretch direction
- Light reflection needs
- Overlapping objects
Professional digitizers change stitch direction intentionally for visual impact and stability.
Common Mistake #6: Not Using Pull Compensation
Why It’s a Problem
All fabrics stretch slightly during stitching. Without pull compensation, your design may shrink once stitched.
What Happens
- Gaps between shapes
- Narrowed satin columns
- Misaligned outlines
How to Avoid It
Add proper pull compensation to all:
- Satin stitches
- Borders
- Outlines
- Lettering
This ensures your design holds its shape after stitching.
Common Mistake #7: Poor Handling of Small Text
Why It’s a Problem
Small text is one of the most challenging areas in Image to PXF File Conversion.
What Happens
- Letters fill in
- Text becomes unreadable
- Thread builds up
- Broken lettering
How to Avoid It
Follow these rules:
- Avoid satin stitches for tiny fonts
- Use run stitches instead
- Keep minimum letter size above 4 mm
- Avoid overly thin typefaces
Common Mistake #8: Overlooking Machine Limitations
Why It’s a Problem
Not all Pfaff and Husqvarna machines handle designs the same way. Ignoring machine specs can cause stitching failures.
What Happens
- Oversized designs
- Stitch jumps
- Thread trimming errors
- Misalignment
How to Avoid It
Always check:
- Maximum hoop size
- Stitch memory limits
- Supported stitch types
- Trim and jump capabilities
Your PXF file must match your machine’s capabilities.
Common Mistake #9: Incorrect Color Sequencing
Why It’s a Problem
Improper color sequencing leads to excessive trims and long jumps.
What Happens
- Increased stitch time
- Thread wastage
- Visible jump stitches
- Beginner-looking embroidery
How to Avoid It
Optimize color order to:
- Reduce jumps
- Minimize trims
- Improve machine efficiency
- Speed up production
Common Mistake #10: Skipping Test Stitching
Why It’s a Problem
Even a perfectly digitized design can behave differently on real fabric.
What Happens
- Unexpected puckering
- Coverage issues
- Thread breakage
- Design shifting
How to Avoid It
Always run a test stitch on:
- The same fabric type
- The same backing
- The same thread
- The same hoop size
Testing saves time, money, and materials.
Why Image to PXF File Conversion Fails Without Experience
Many conversion mistakes aren’t about software, they're about experience. Knowing how a design will stitch before it ever touches fabric takes years of trial, error, and hands-on practice. This is why professional digitizing still outperforms AI tools and auto-converters every time.
Professional Benefits of Accurate PXF Conversion
When done correctly, professional Image to PXF conversion delivers:
- Clean stitch lines
- Smooth color transitions
- Even fabric coverage
- Longer-lasting embroidery
- Fewer machine issues
- Faster production runs
- Happier clients
DIY vs Professional Image to PXF File Conversion
DIY Conversion Pros
- Lower upfront cost
- Learning opportunity
- Full creative control
DIY Conversion Cons
- Steep learning curve
- High error risk
- Expensive mistakes
- Poor stitch quality at first
Professional Conversion Pros
- Production-ready files
- Perfect stitch flow
- Proper underlay and density
- Faster turnaround
- No machine headaches
For businesses, professional conversion almost always pays off in quality and time savings.
How to Prepare Your Image for PXF Conversion
To avoid mistakes before conversion even starts:
- Use high-resolution artwork
- Remove backgrounds
- Simplify overly complex details
- Use solid colors where possible
- Avoid ultra-thin lines
- Clearly define text and shapes
A clean input design always leads to better embroidery output.
The Hidden Cost of Poor PXF Conversion
Bad conversion doesn’t just look ugly it costs money:
- Wasted thread
- Ruined garments
- Extra labor
- Machine downtime
- Missed delivery deadlines
- Client complaints
One poorly digitized design can easily cost more than a professional conversion fee.
Future of Image to PXF File Conversion
With advancements in AI and machine learning, automation is improving—but it still can’t replace human judgment when it comes to:
- Fabric behavior
- Stitch density decisions
- Underlay strategy
- Lettering clarity
- Design durability
Professional embroidery digitizing remains essential for high-end results.
Final Thoughts
Image to PXF File Conversion is far more than just changing a file format; it's a technical art form that directly affects the quality, durability, and appearance of your embroidery. By understanding and avoiding common mistakes like poor density, weak underlay, bad stitch direction, and rushed auto-digitizing, you can dramatically improve your embroidery results. And if you’d rather skip the guesswork and get production-ready PXF files without stress, trusted professionals like Digitizing Buddy are always ready to help you stitch with confidence.